
Since I'm now feeling better - hurray!!! - I thought I'd post a bit about my process in making paper beads.
I started out by experimenting with old magazine pages but decided I wanted more control over the colours in the end result so began to design my own patterns. I was initially a bit reluctant to do this since one of the plus features of many paper beads is that they are up-cycled but I'm afraid I just couldn't get on with the colours my magazine pages were producing.
I design the patterns in Photoshop. I start by using the "Paint Bucket Tool" to create an overall colour, might be a pastel shade, might be something brighter. Here I've used a pale green.


I tend towards stripes as when cut and rolled I invariably find the end results aesthetically pleasing but I do sometimes go for more random patterns. I generally use the brush freehand and a bit wiggly as I have done here, though sometimes I've used the Select tool to pick out rectangular stripes to drop colours into.
Next, I start to have fun with filters! This one is Brush - Crosshatch (again) and I've tweaked the stroke length, sharpness and strength.

Then I have even more fun! Here I've tweaked all three scales in Colour Balance and added another filter - Sketch - Chalk and Charcoal.

I do "Save As" at each stage of the process so I can return to any of them and take them in a different direction. Memo to self - I really, seriously, need to organise my filing system soon or else the whole thing is going to go into meltdown!
Once I've printed out my design I turn the paper over and print out a grid of long interlocking triangles that Roger created in Publisher (which I can't get to load here!) on the back - I've learned from bitter experience that freehand guillotining results in rubbish results and a very bad tempered me.
Rolling the beads is pretty straightforward, I use cocktail sticks and keep a nice steady rhythm. The first few I made, I used far too much glue and got in a nasty sticky mess. Now I only spread glue on the final couple of inches before rolling up!
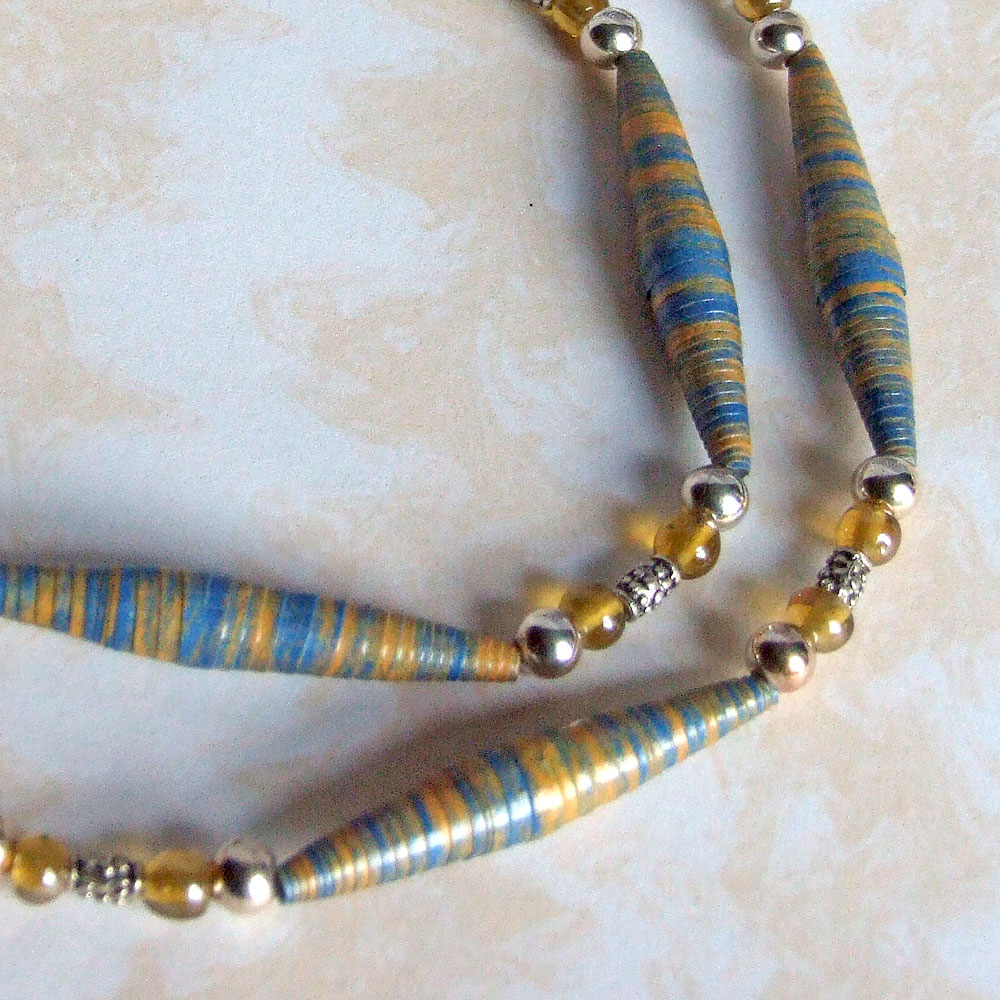
The last bit's the most time consuming - varnishing. I keep them on their cocktail sticks and secure them in a piece of scrap polystyrene then apply three coats of polyeurethane varnish. Takes days but it's worth it. The end result is water-resistant though not waterproof. I've been wearing a necklace incorporating some of the first ones I made for three months now (not all the time, obviously, but pretty frequently) and the beads are holding up really well. I'm a fairly heavy user of moisturiser and perfume and neither seem to have affected them so far.
The worked example above is a rather boring colour as it's one I just created quickly for this post (I can't remember the individual steps I've been through with all the ones I've already done, the ravages of encroaching age and all...) So here are a couple somewhat more colourful examples from my extensive files:


No comments:
Post a Comment